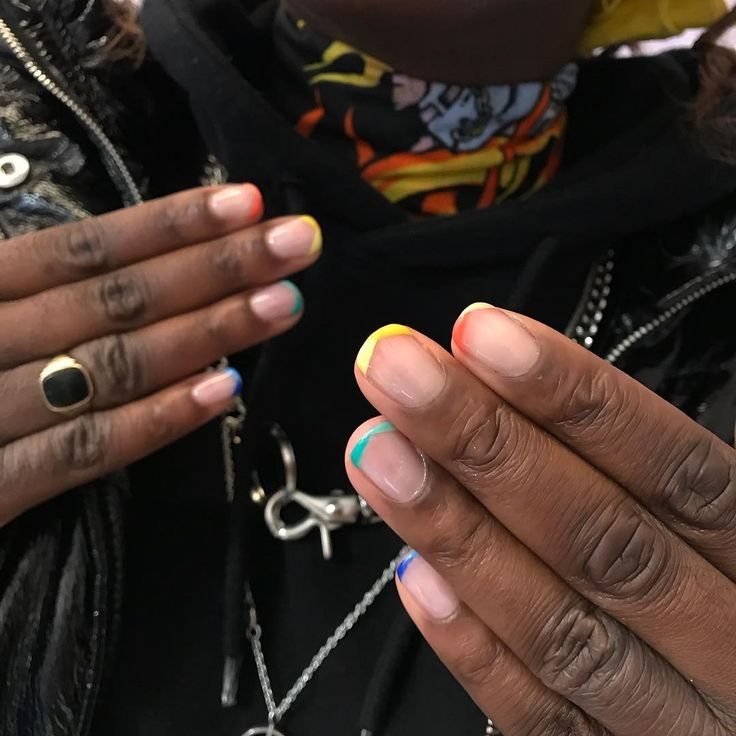
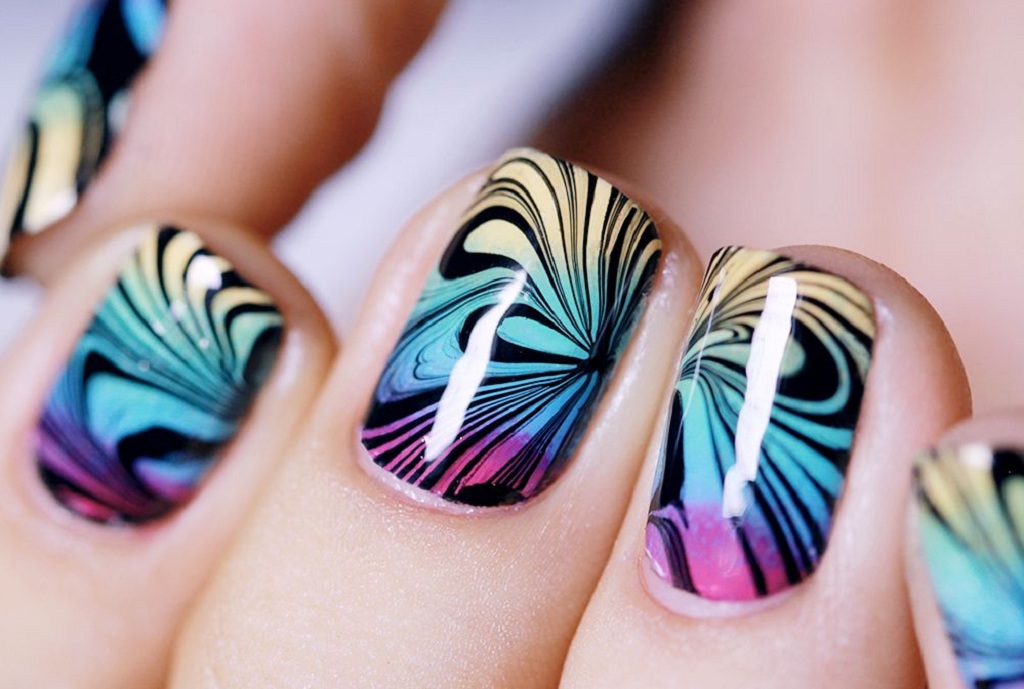
Summer is all about experimenting with the latest trends and flaunting what you got. Nail art has been popular for quite a while, and new trends keep coming in this niche. One of the most popular fashions that are going around for a while is water marble nail art.
This spectacular piece of art doesn’t require an expert as you can do this very easily at home. Here, we will teach you exactly how to do it and what supplies you need to achieve the best results.
Supplies
You can’t create a piece of art without using great supplies. For this nail art, you will require the following simple supplies:
- Nail file
- Nail polish of white or any other light shade
- Nail paint of 3-4 different colors
- Toothpick
- Liquid latex or nail polish remover
- A cup of water
- Topcoat
- Brush for cleaning
Steps
Preparation
You need to have perfectly clean and dry nails to apply your nail art. Clean up any residing nail polish with nail remover. Trim your nails properly and do not leave any rough edges. Make sure all the nails are of even shape and length.
Application of the Base Coat
Apply liquid latex on the border of your nail to prevent any nail paint from sticking on the skin. This will also make it easy for you to clean up the mess in the end. If you don’t have liquid latex, don’t fret! You can always use a nail polish remover. Then, apply two layers of a good quality base coat evenly. Allow it to dry properly before attempting to apply the next coat.
Creation of Design
Now it’s time to bring out the artist in you! Take a cup of water and plop various nail paint colors in it. One should choose the best nail polishes for water marble to get the best results. Take a toothpick and churn it in the water, which will create unique designs of nail paint in the water. This design will be copied on your nails.
Coating of Nail with Design
Ensure the water is at room temperature as excessively cold or too hot water can mess up the designs. Dip one of your fingers in water in a way that the colors completely coat the nail. Wait for a while before lifting your finger to allow the nail paint to dry.
Finishing
Remove the liquid latex around your nails. If you didn’t use it, then use a clean-up brush dipped in a nail polish remover to clean up the mess surrounding your nail. Finally, finish off with a top coat, and your gorgeous water marble nails are ready!
Nail Hardener
Nothing hurts a nail artist more than broken nails, which can make all your hard work and money go to waste. To prevent such an awful event, you should take exceptional care of your nails. That’s where a nail hardener picks up!
Full of proteins, vitamins, and several other healthy ingredients, these can help you maintain the strength and health of your nail so that you can continue experimenting with whatever manicure and nail art you want.
Look for the best nail hardener without formaldehyde to get all the goodness without any side effects as we are already aware of the numerous downsides of formaldehyde—how harmful it can be for your wellbeing and why you should avoid it.
Conclusion
The nail art trend is back this summer, and every person should try the unique water marble nail art at least once. Doing nail art doesn’t require expert skills or expensive supplies. Anyone can do nail art effortlessly with the right supplies and methods.
Sources: https://www.pishposhpolish.com/